Showing posts with label mini album. Show all posts

Sunday, July 29, 2012

L-U-C-A-S Mini Album for Scrappin Studio

Hi there, I'm back again with another Scrappin Studio Project. Hope you had a great week, more than half a year is gone and in a matter of months we are closing 2012! Scary how time flies. And scary how fast babies grow too, it feels like only yesterday when my boy was a helpless infant and today he is a demanding toddler! Today I'm sharing a mini album entitled L-U-C-A-S, a tribute to my boy and this yellow car which he loved. (I say 'loved' because the car has since been replaced by many others and is also, sadly missing a wheel!)


I started by cutting cardstock and papers into 5" x 6" sizes, all are from July's main kit and add on kit: Elmwood Park and Capture the Flag. Then I used remnants of the papers to embellish. The main idea was to spell out L-U-C-A-S so I started with the lettering pages and then decorated behind each with photos etc.


The lettering are achieved by fussy the cutting the letters from this pp:

Basic Grey - PB & J - Thermos
I then used the canvas ribbon (from Capture the Flag kit) as the cover centrepiece....


Below photos are how I decorated each page behind the lettering pages....


Last step - simply punch a hole at the top left corner and use a ring or chain to hold the pages together. Finally here's how the album look like page by page.


Now I'd like to share a simple tutorial on how to make the canvas ribbon bloom. You will need; needle, thread, ribbon with some width, buttons and twine to decorate the centre and some glue dots to adhere the bloom to paper.


  • Step 1: Gather the edge of the ribbon into a fan shape, thicker ribbons are easier to work with, this canvas fabric is perfect!
  • Step 2: Thread a needle and thread through it section by section till you have enough to become a bloom.
  • Step 3: Sew up at the joining section and knot it - this will be the behind.
  • Step 4: Flip to the other side and you're almost done - add finishing touches to the centre with buttons or other embellishments.

Hope you like this album and bloom :) Feel free to check out the awesome Scrappin Studio kits!  Thanks for dropping by and have a great week ahead!

XOXO!

Sunday, February 19, 2012

The Love Mini Album

This post was meant for Valentine's Day last week but unfortunately work kept away from my PC so this is slightly delayed. I hope some of you are still in the mood for romance! Anyhow, hubby and I had a late V Day dinner after a long day at work, it was nice getting to be with each other regardless the hour :)

I originally made this album for a Scrap N Crop class based on the kit that Val gave me. The class was last Sunday and it was actually pretty good, we had 8 registrations but only 5 came, which was great nevertheless, we had lotsa space and lotsa fun too. And to those who came, I want to express my heartfelt appreciation for taking time off to come all the way to Kajang :)

Here are some of the images of the FRONT and OUTSIDE of the mini album:


Here are the inside pages:


Here are close-ups of my favorite bits:


This was part of the class synopsis which was on Scrap N Crop's CROP.munity's blogpost:


The Love Album is a shabby chic mini album  measuring 8” x 6”, made entirely from scratch using chipboard covers and cardstock pages. This projects features the latest Valentine's collection from Making Memories and other delicious designer pattern papers and pretty embellishment. This makes a uniquely perfect Valentine gift to your dearest beau as you document your precious journey together. 

Thanks for dropping by and have a great week ahead! Stay crafty! *XOXO*

Tuesday, December 20, 2011

Cardabilities Sketch #45

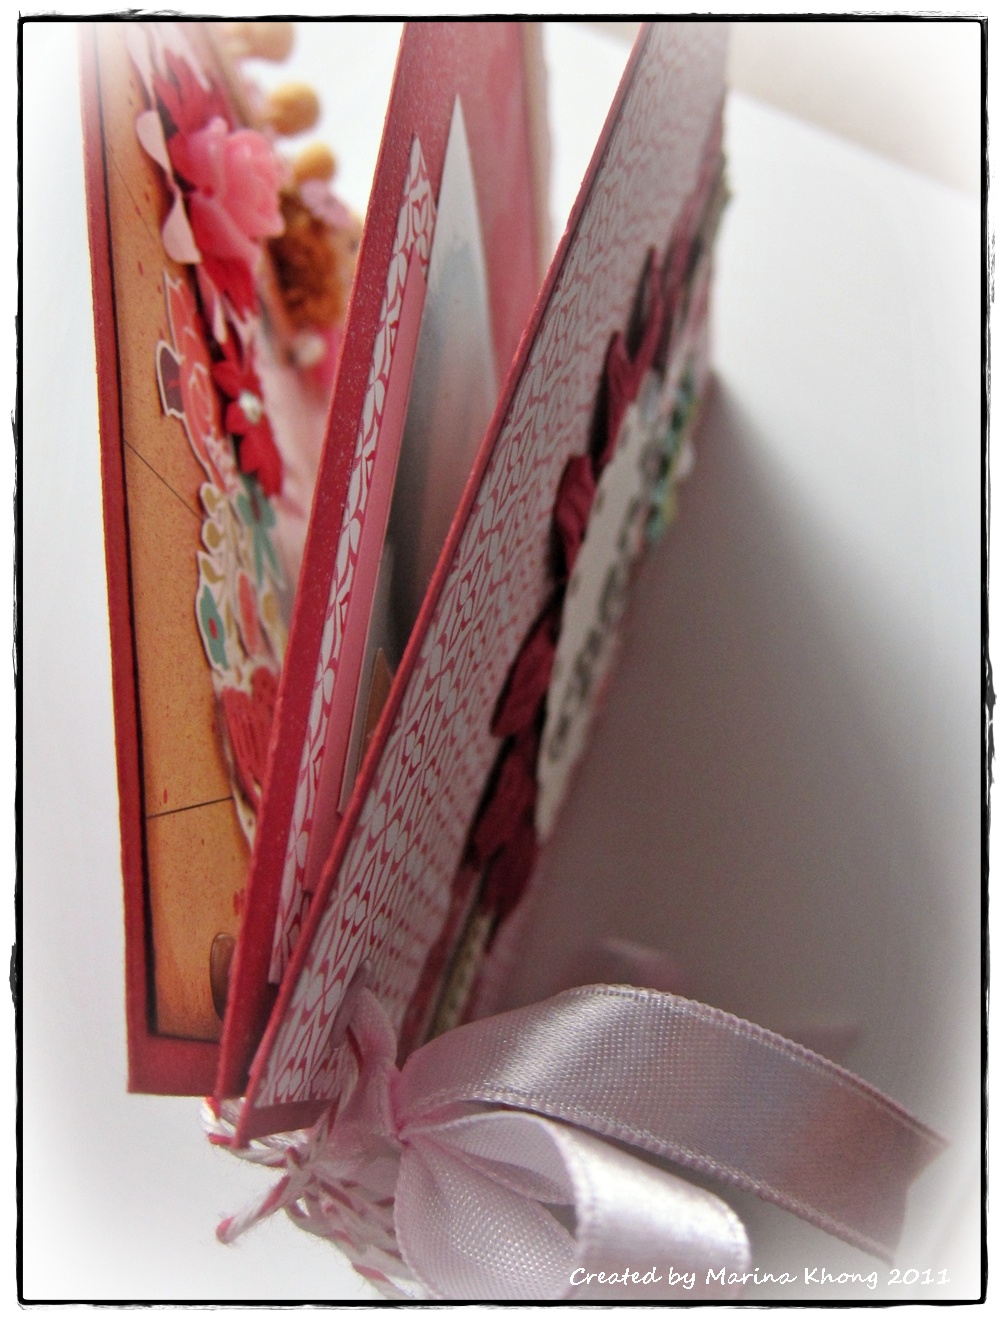
Hello again! I'm back with a new card. I received a request from my sis-in-law to make a special "Thank You" card for her mum and she wanted some photos inside and a poem as well. So I created a 6 x 6 card that's also like a 'mini-album' some sort in order to incorporate her requirements... a mini album card LOL!


I used Cardabilities' Sketch #45 for the front of the card.


Here's how the mini album card look like from the side;


 Here are the insides of the card;

Cute baby Christabelle on the right and message space on the left.

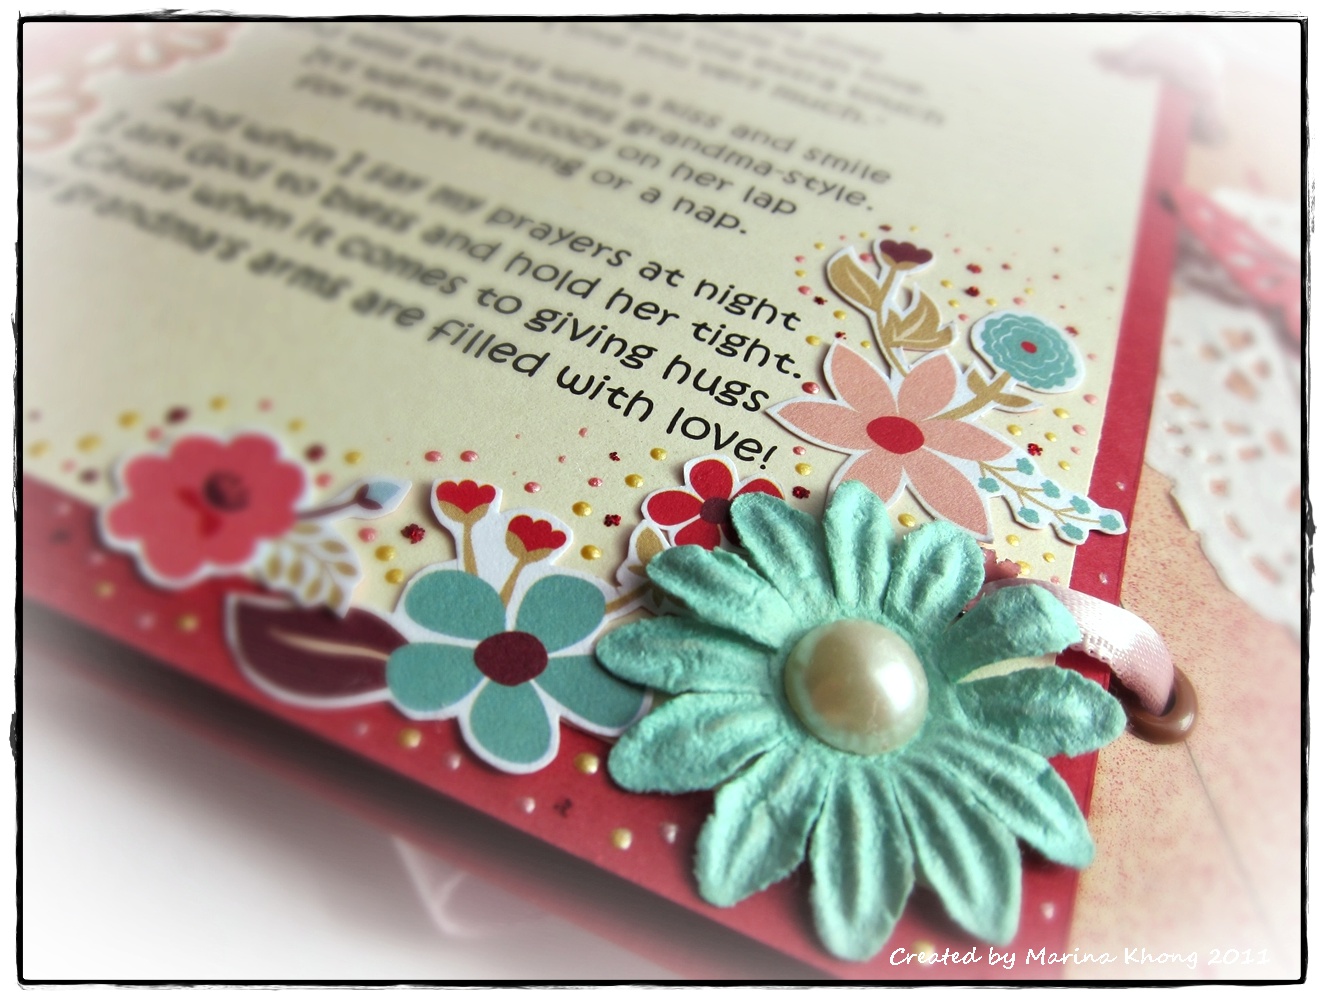
A special poem for Grandma :)

Here are some close-ups;


Lotsa fussy-cut flowers.


Well, this is one of the more unique cards I've made so far. Big thanks to my sis-in-law for giving me the opportunity to create something so special for her mum. And thanks Cardabilities for the inspiring sketch!

Thanks for looking and have a nice day :)

Sunday, December 11, 2011

Mini Album for my Baby Niece

My brother-in-law and his wife recently gave birth to a sweet lil' angel and we celebrated her full moon (one month old) party yesterday. My gift to them is a 6" x 6" 10-page mini album incorporating pictures of their baby girl which I downloaded off their Facebook album. The album is pretty much 95% complete with photos except for journaling spots which are left empty so they can personalize it with their own precious thoughts. The ring bound album is also flexible in such a way that they can add on more pages or mementos or re-position the pages.

I'm using American Craft's chipboard ring-bound album which is part covered in pink fabric. I've left the pink fabric exposed and covered most of the raw chipboard with pattern paper.

Album cover - Welcome baby Christabelle!!!

Side view; each LO is housed in a clear protector.
This is the inside cover. I included a nice poem I found online;

Inside front cover.
Close-up of the poem.

Here comes the inside layouts, they are basically full layout formats made on 6" x 6" cardstock or pp.

A poem on the front page.


Lastly, this is the inside-back-cover:

Isn't she simply ADORABLE??? Those huge eyes :)

I can't possibly list out each and every single supply used in this album but I'll mention a few notable collections; Fancy Pants Baby Mine 6x6 pad, Simple Stories Baby Steps 12 x 12 pp, MME Lost & Found 2 Blush 6x6 pad, Echo Park Country Road 6x6 pad, Webster's Pages Let's Celebrate Sweet & Treats 12 x 12, PP Nantucket Oyster Bar 12 x 12, PP Snow Day 12 x 12 (on the cover), 7 Gypsies Baby rub-ons.

I'm very excited with this album and had many hours of pleasure working on it. I think I spent around 3 weeks on it, I guess it would have been quicker if I had only one project at hand. I'm super pleased that they liked the album :) I think it's nice to have these precious pics all compiled and ready for showing to family and friends at the party. A satisfying and fulfilling project for me indeed, just to see the smiles on their faces makes me really HAPPY :)

Here's my sis-in-law, the pretty new mummy :)

Thanks for dropping by and looking :) Have a good week ahead!
 

Copyright © Myscrapspiration 2011 | All rights reserved | Blog Design by Krafty Palette.